Like any felt project I started by knowing my materials first
Using a 12” square and 12 gms of fibre plus 1 piece of japanese paper I felt my square.
I calculate 12” has shrunk to 7 giving me (7#12=0.58) shrinkage
To calculate the increase I need to start with to give me a 7” plate I divide 1 by 0.58 and my template must be increased by 1.72
Double check yourself by taking 1.72 x.58 =1
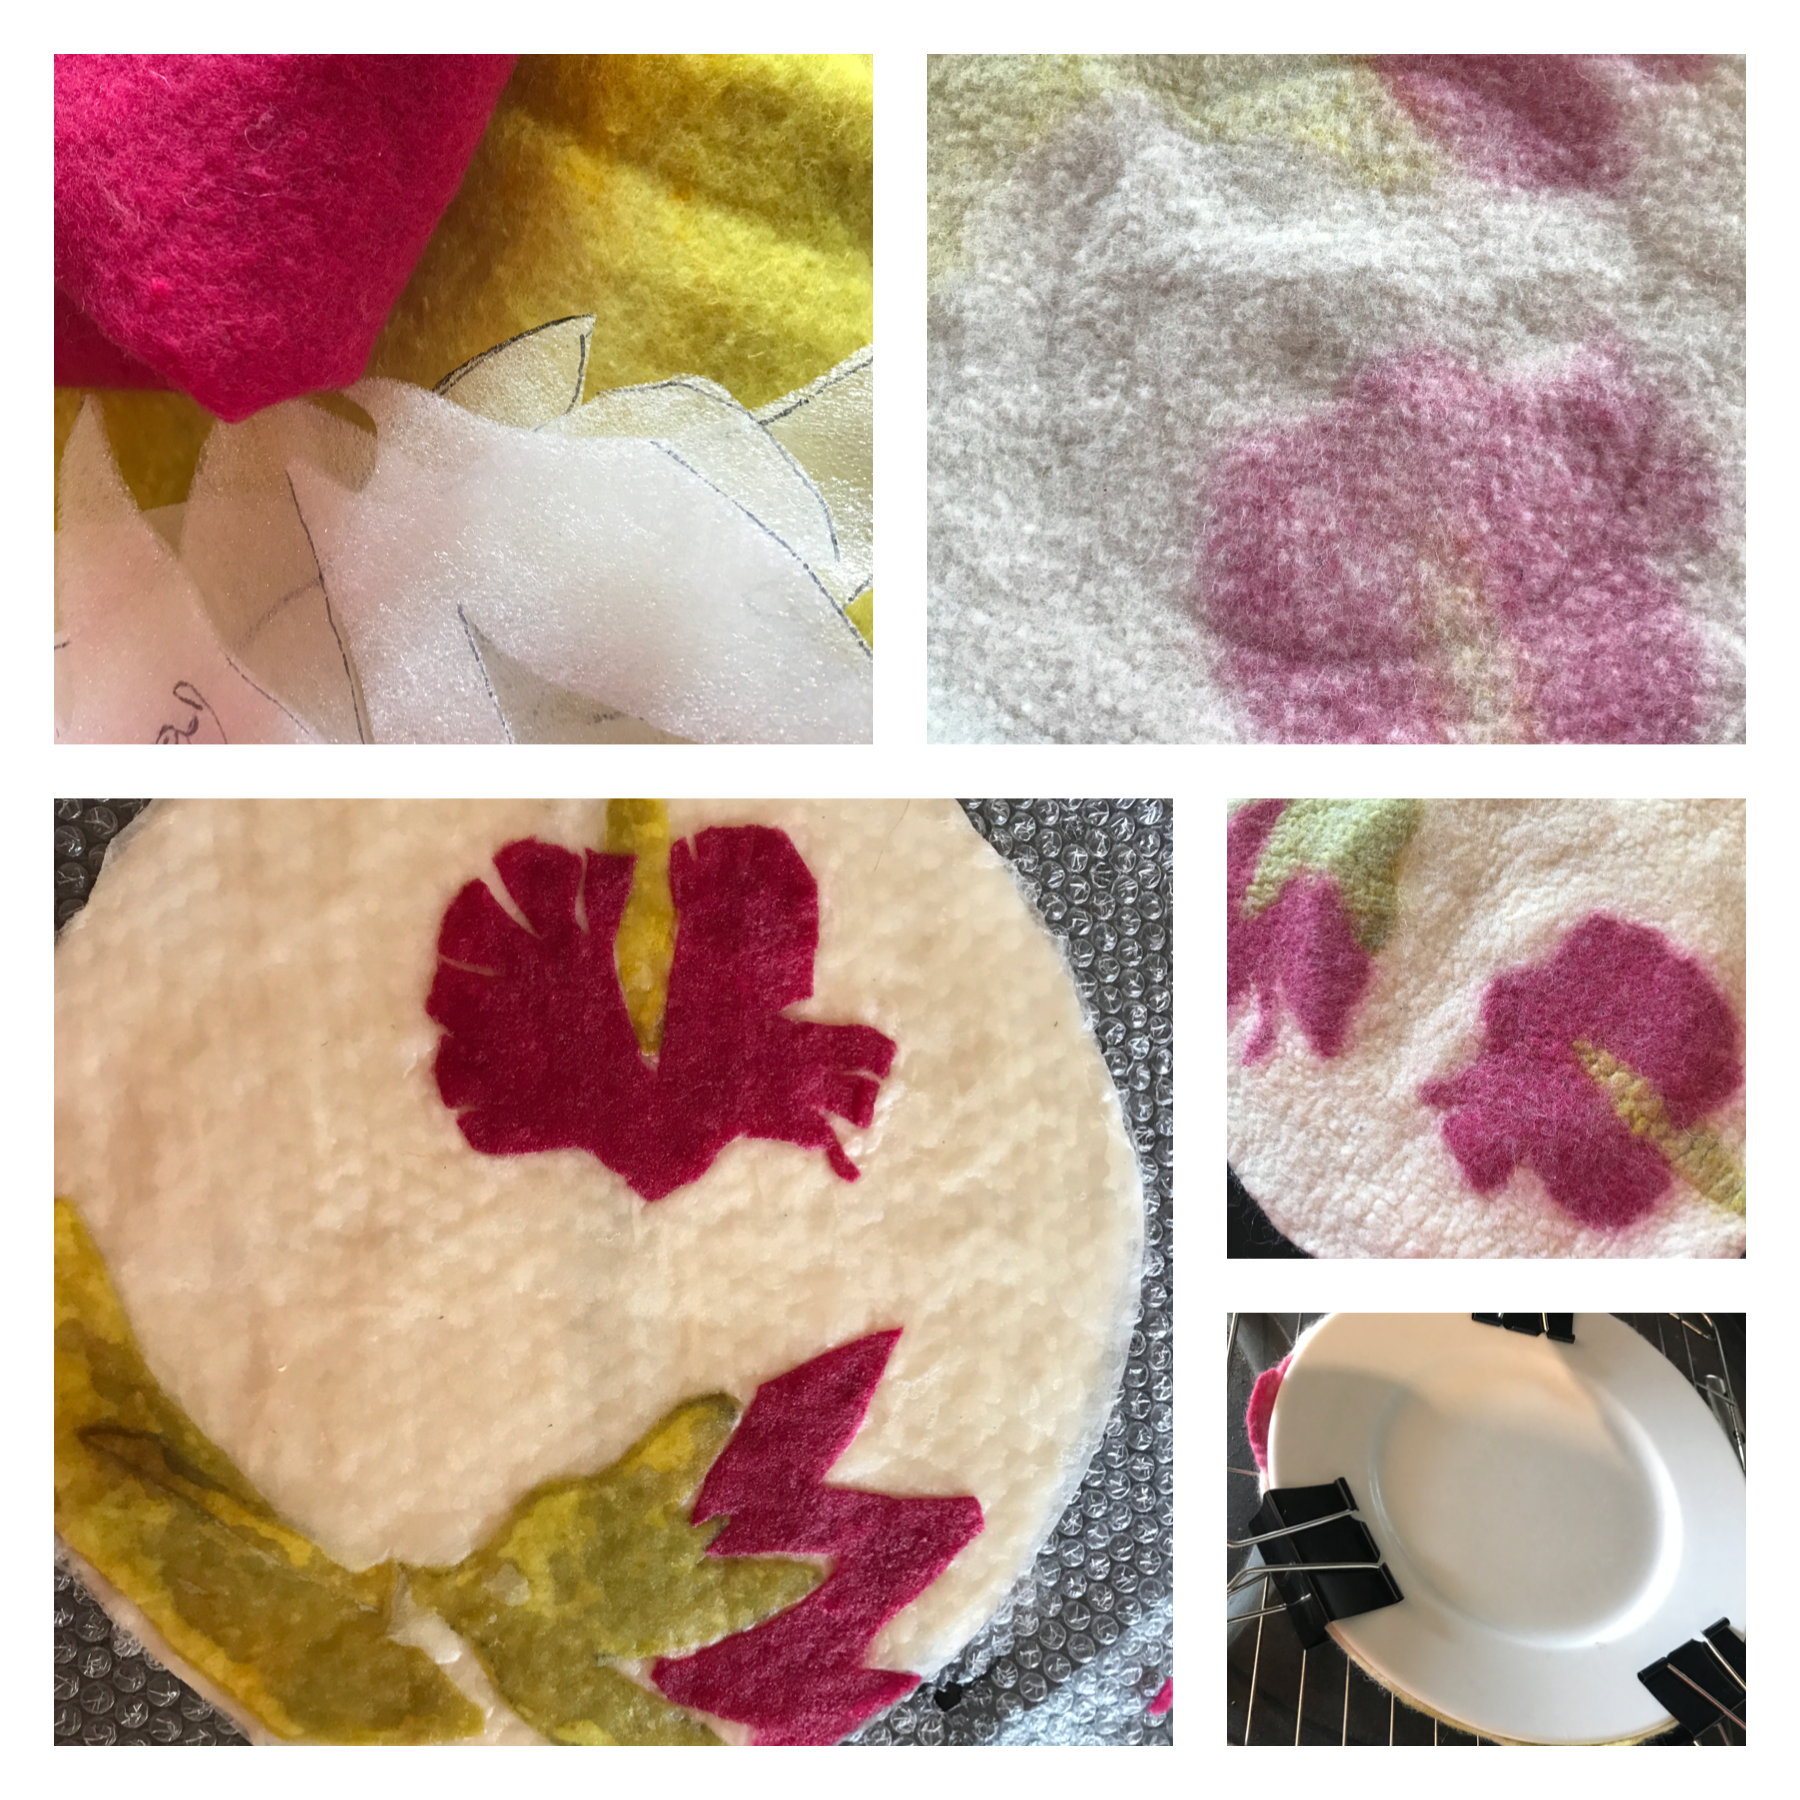
We are correct here so I increase my template circle to 38cms from 11cms and place this under my bubble after cutting out the same circle in Japanese paper.

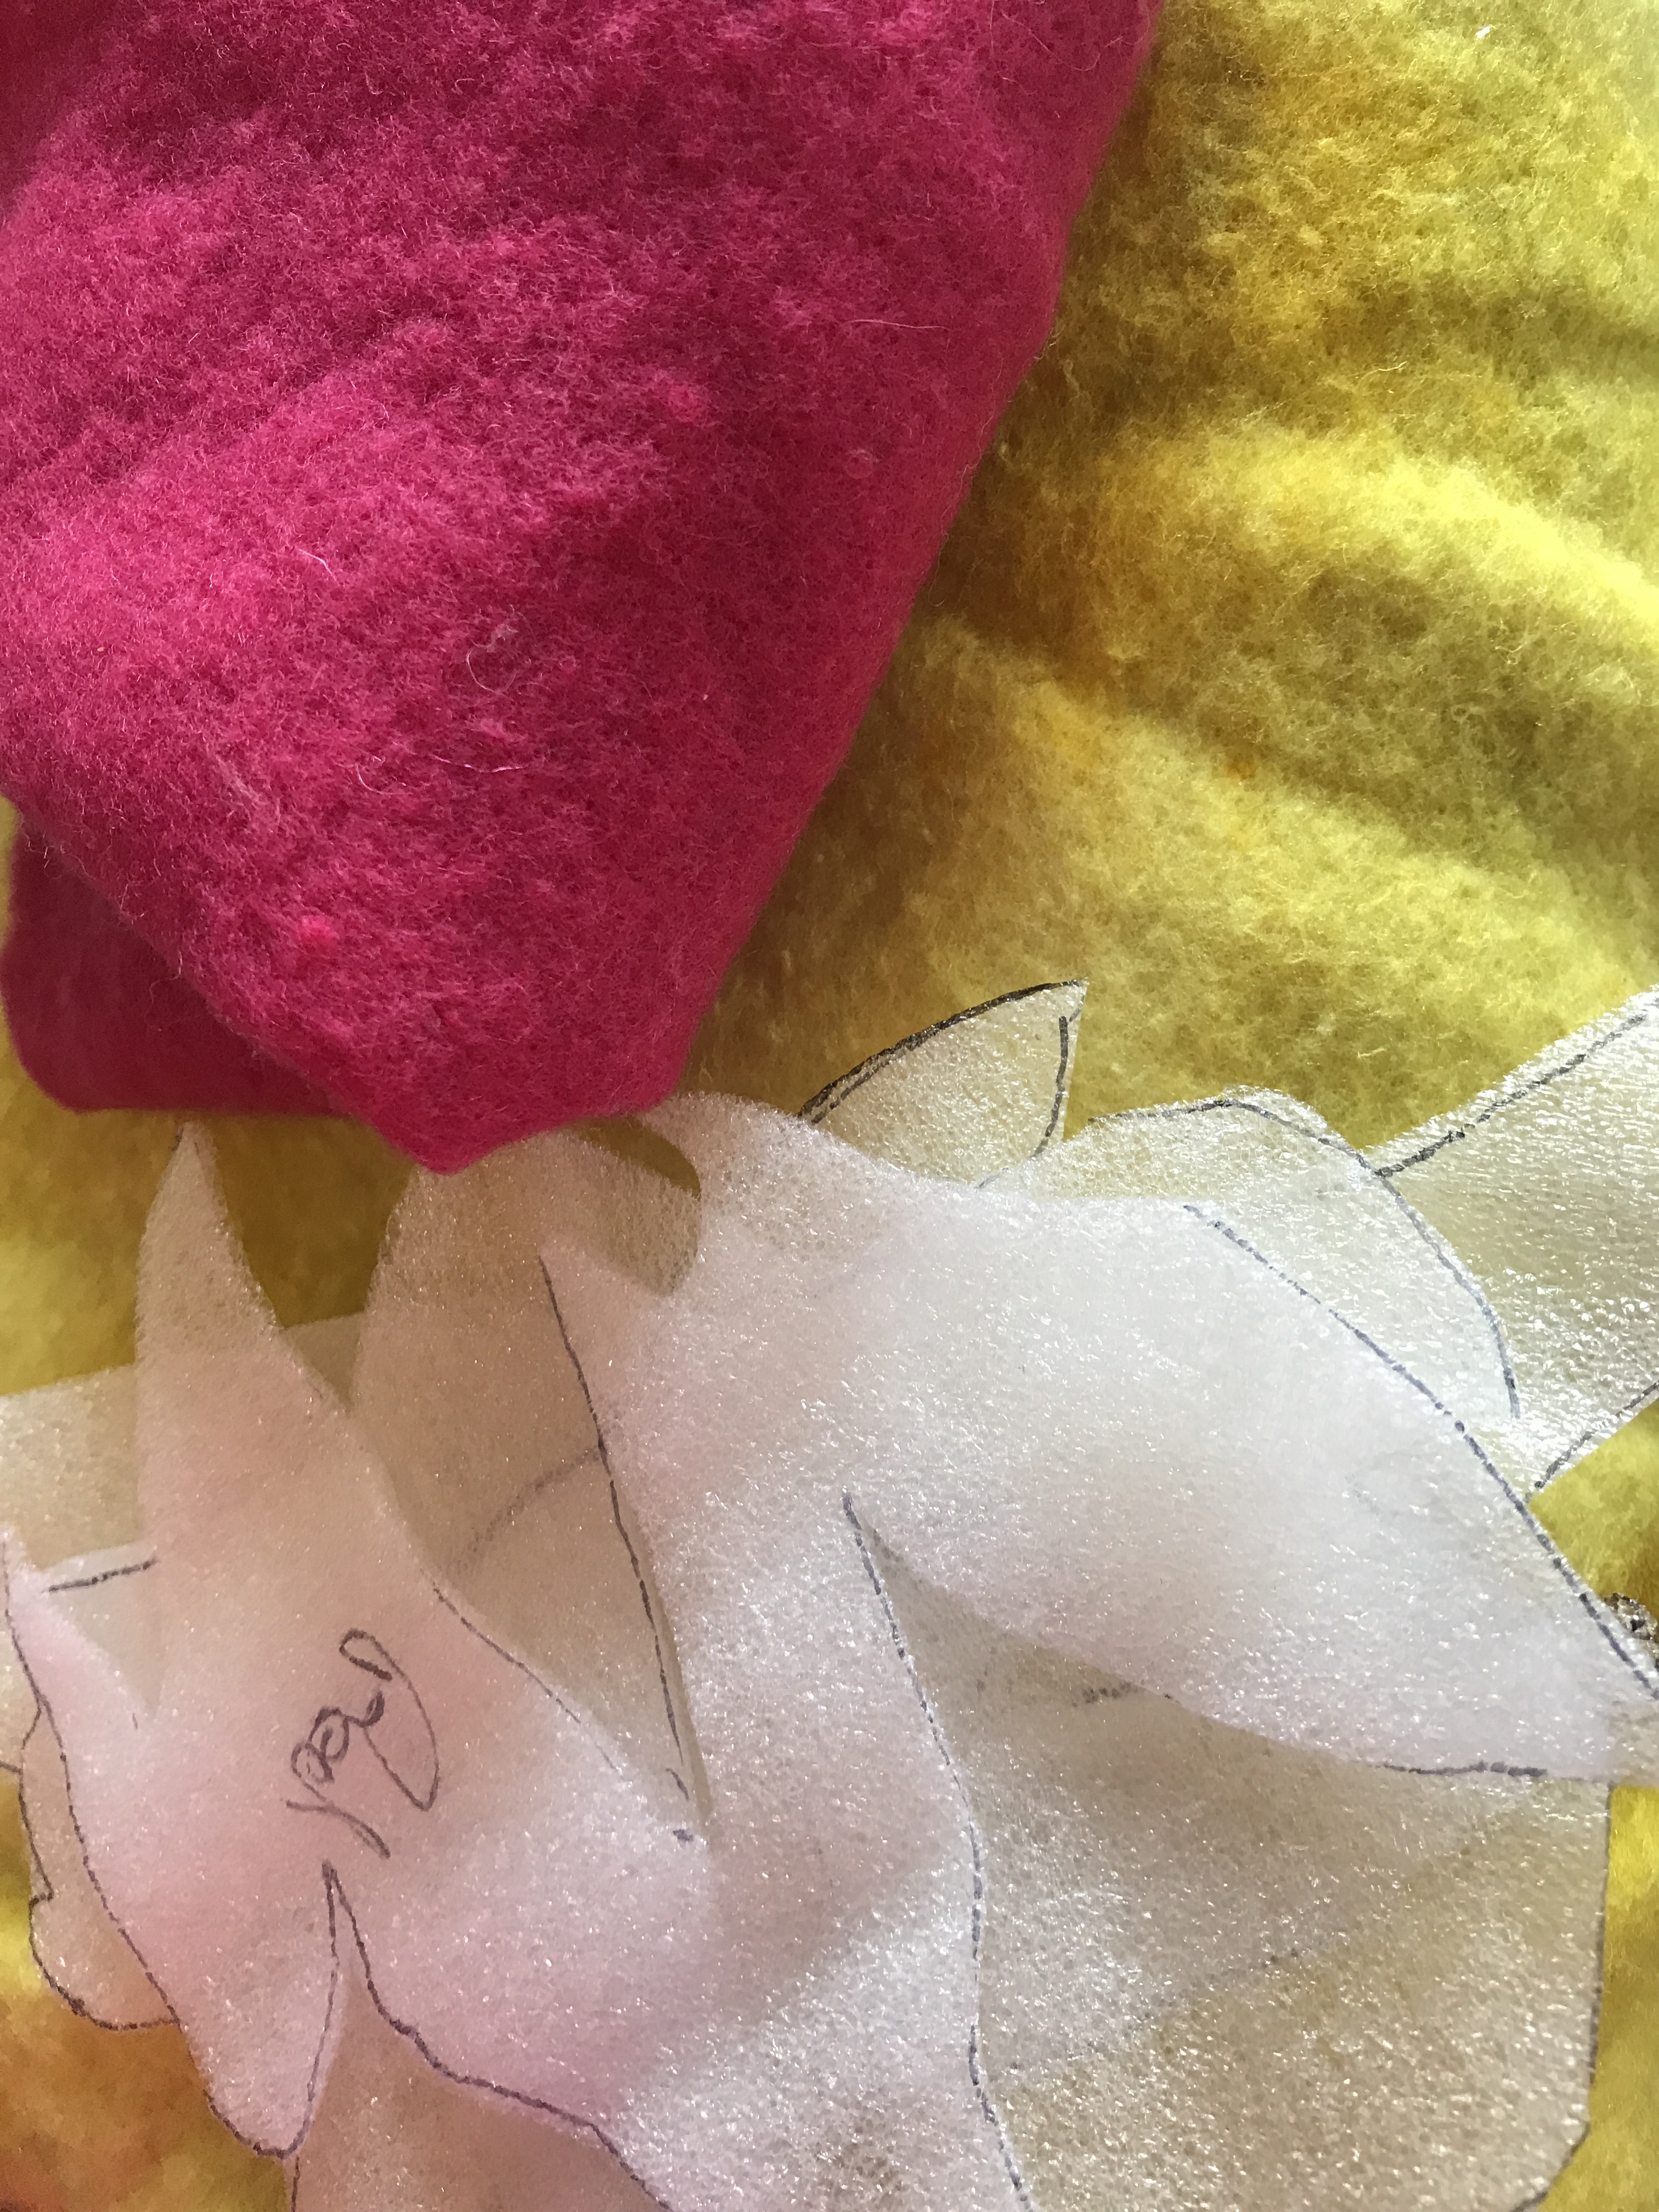
I calculate I need 16 gms of white 19 micron merino( WoW supplied) – my 2. Differing prefelts and this time it is Lime and Rose.
I sketch my design on the large circle of template paper check I am happy and cut these shapes in template material
Let’s begin
1 fine circular edge of fibre followed by 8 gms horizontal 8 gms vertical .I wet this down place my plastic on and compress and take plastic off then proceed toplace circular piece of Japanese paper on top and just allow it to find its place then press-slightly with plastic on top . Soap down with netting on -turn over and repeat the soaping.A
Now rub very very gently and repeat on both sides. After you are sure all is well you can start gently rolling. I use a cotton sheet to roll on constantly changing the direction of my circle .
Of course when I started this piece there was a lot of ‘knowns’ but maybe some ‘unknowns’
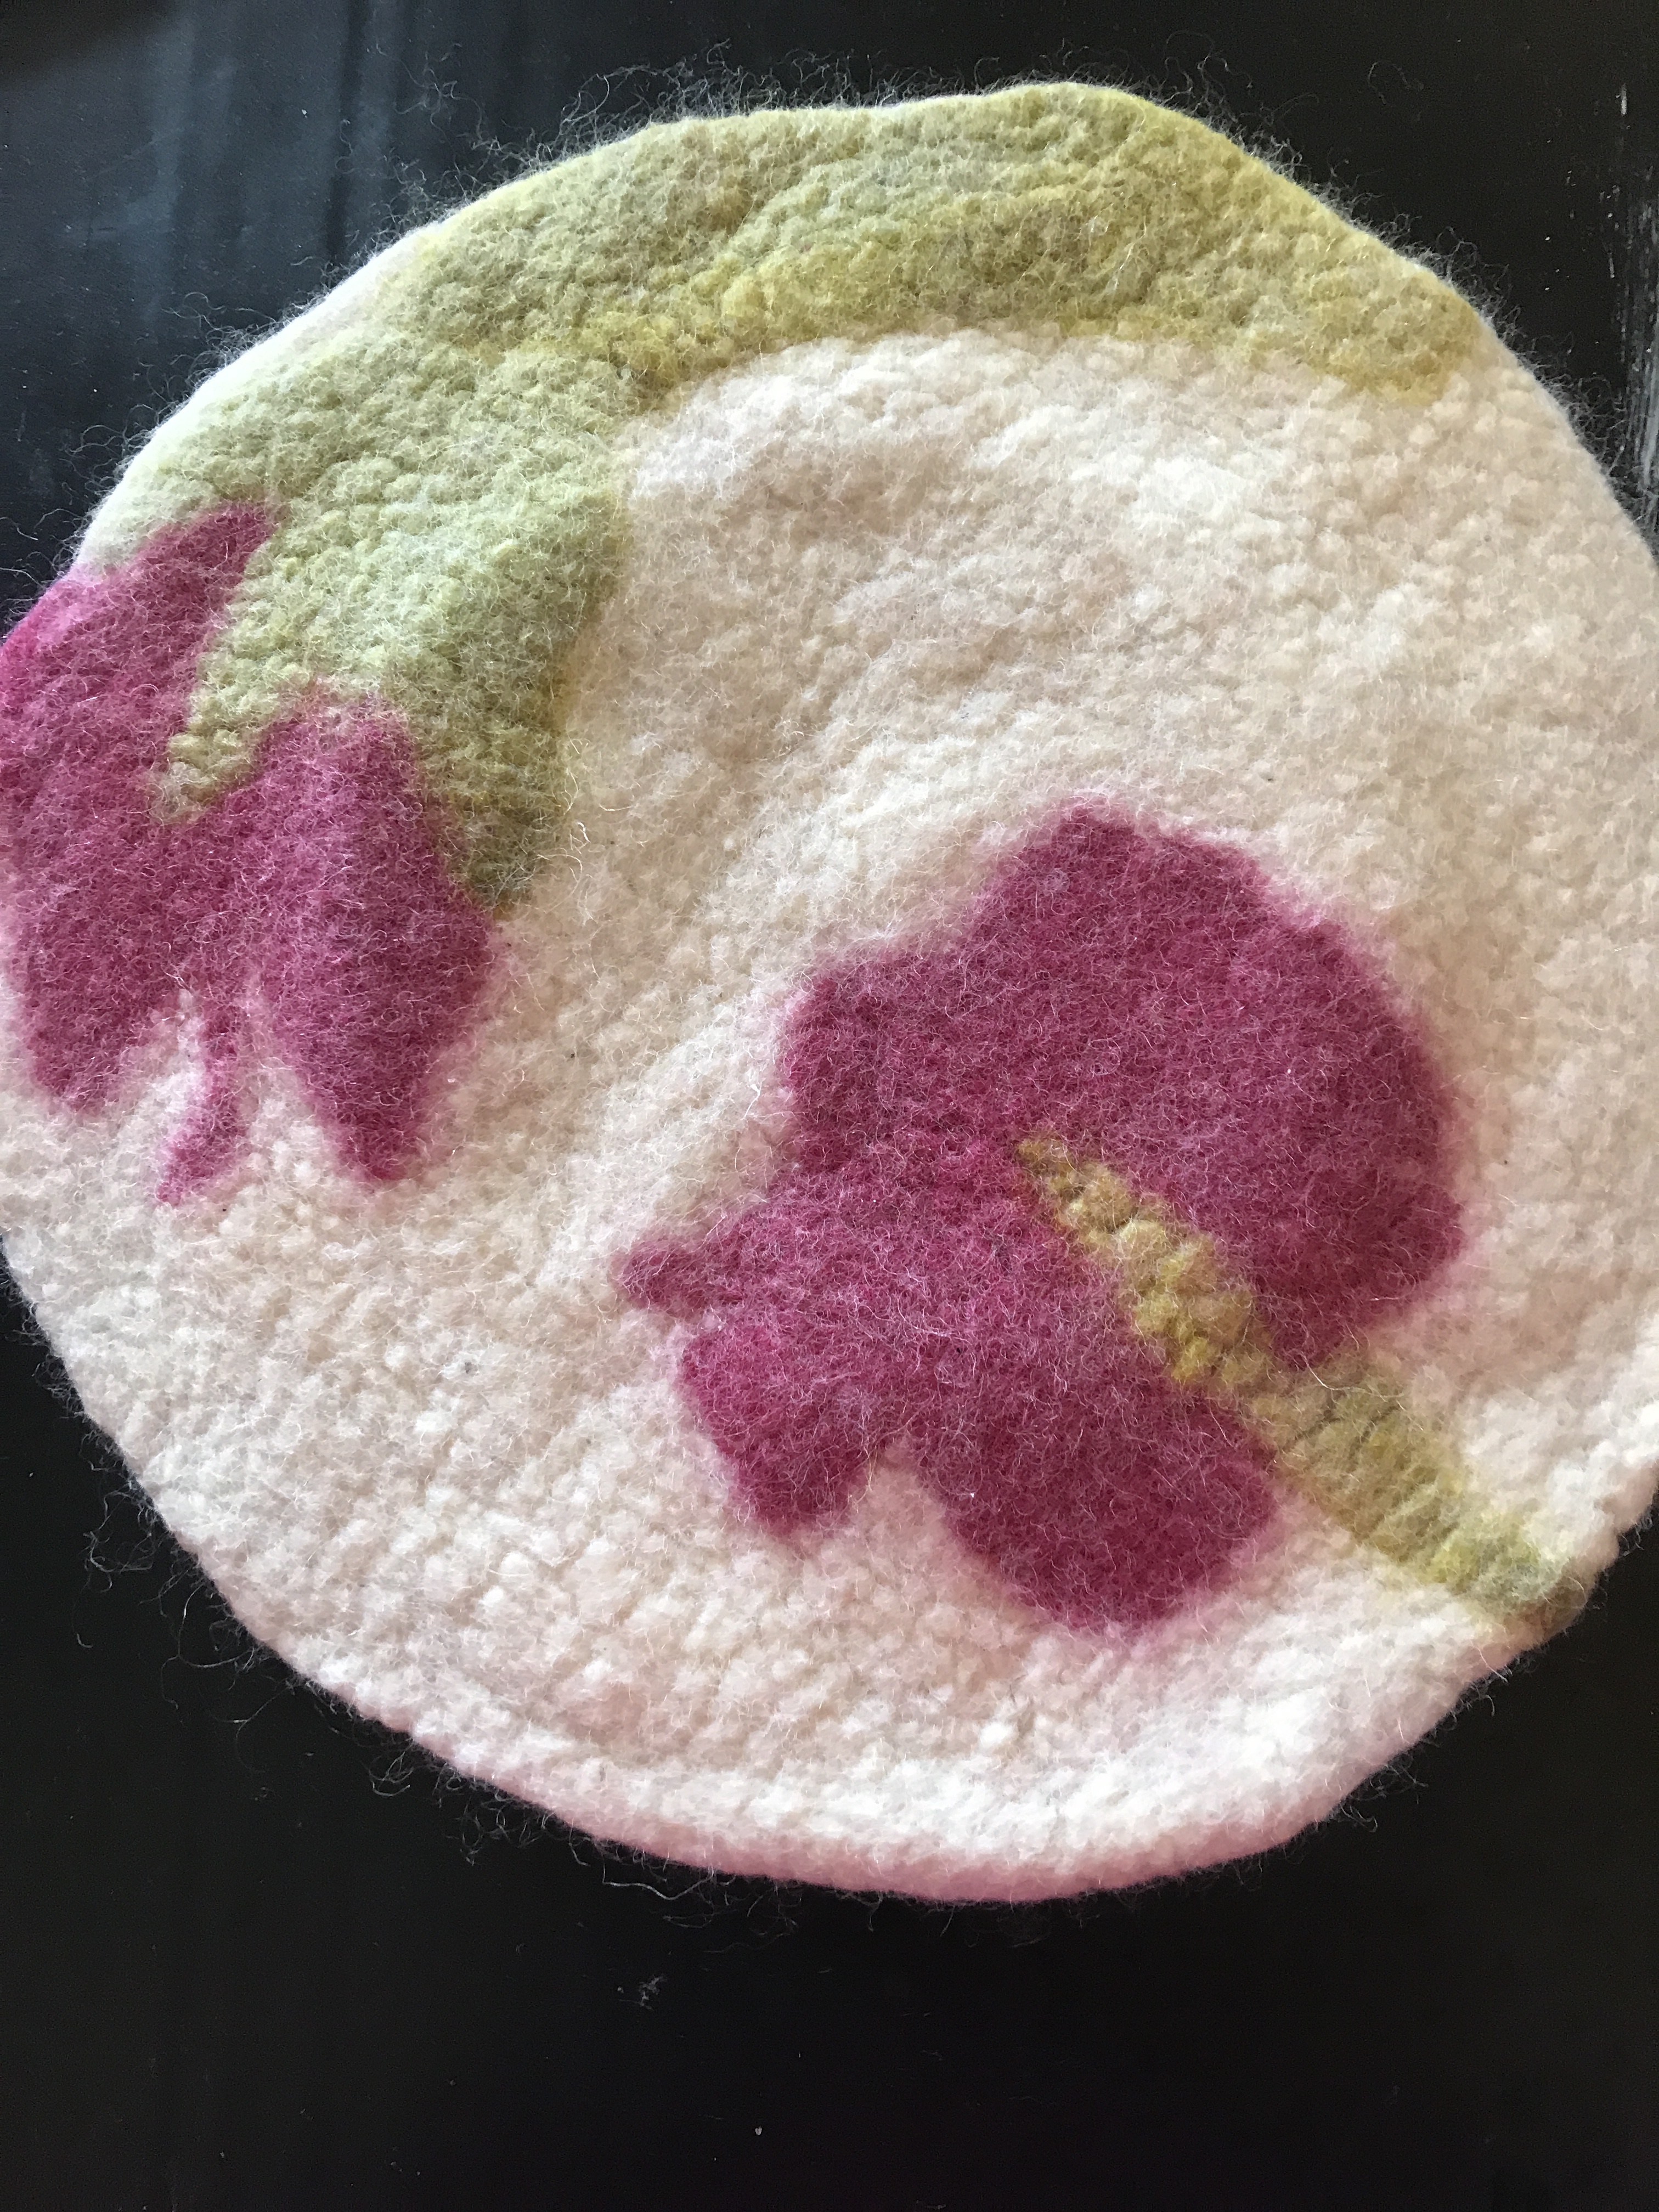
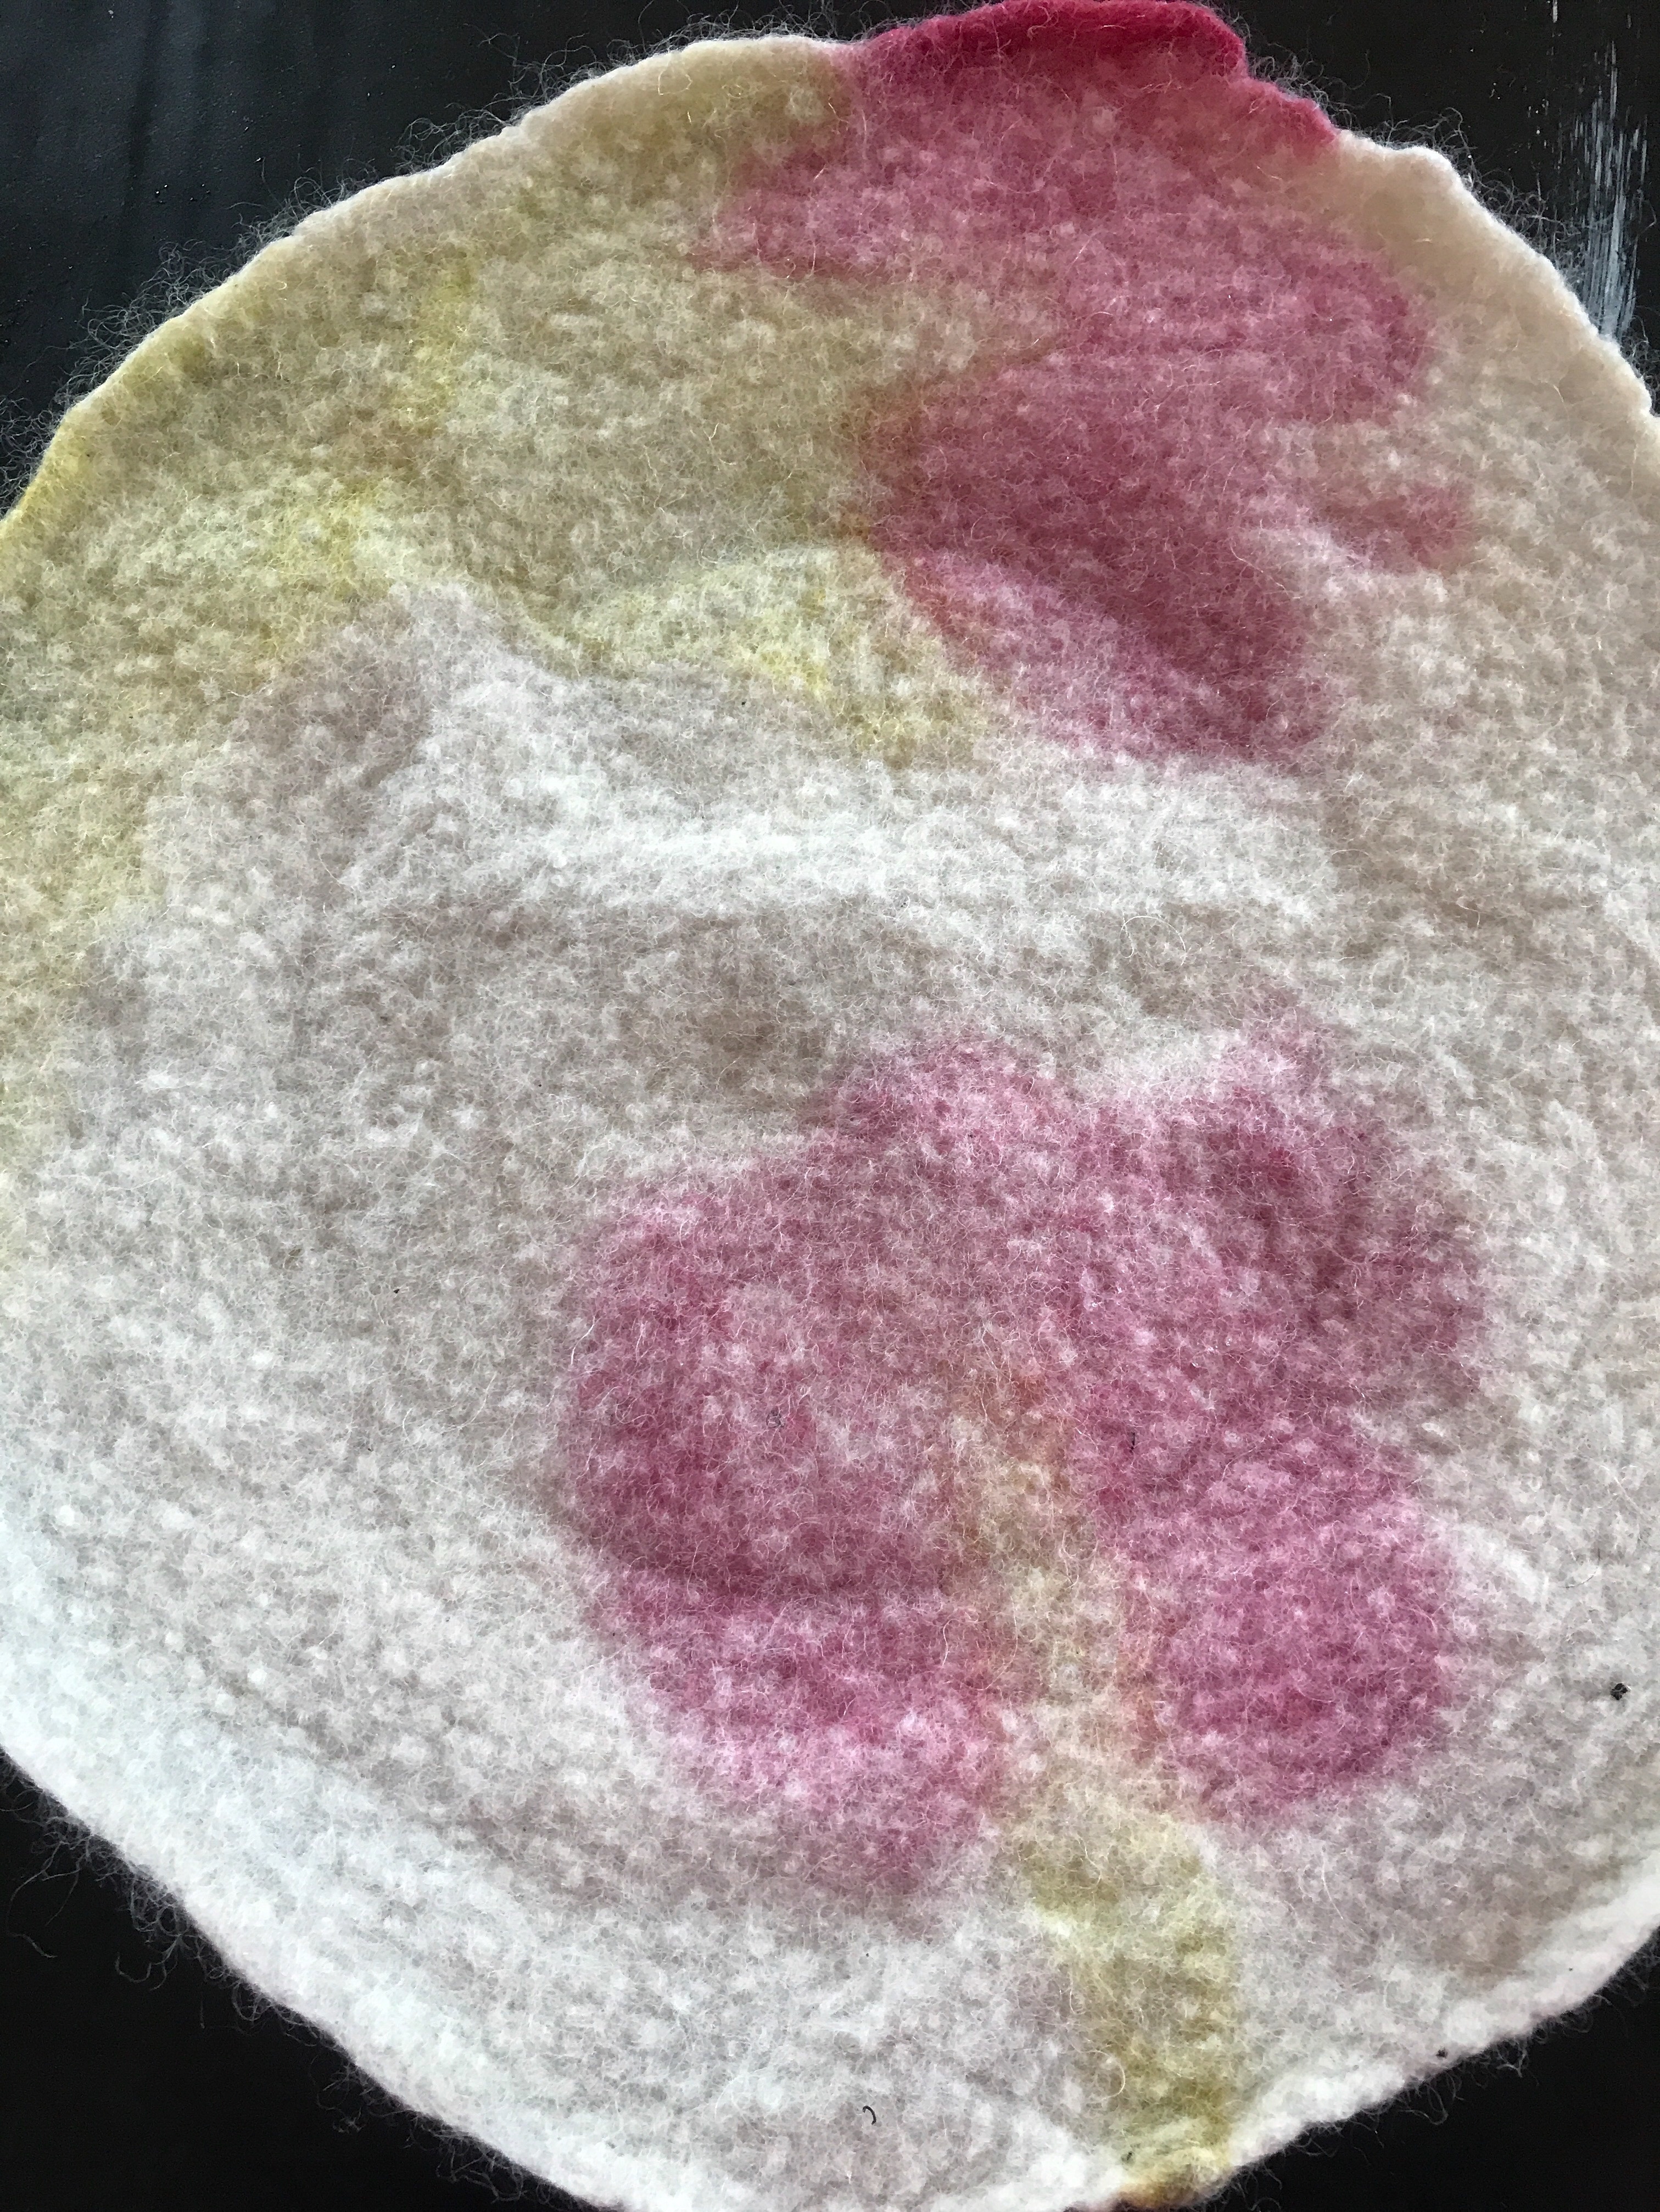
One query I had was do I start with pale colours ? Or do I use these brights and hope they are bright enough to portray a pale textural quality on the reverse side through 2 layers of felt and 1 layer of Japanese paper. I am hoping they do.
What I shall do now is to clamp it between 2 plates to let it dry above the Aga.
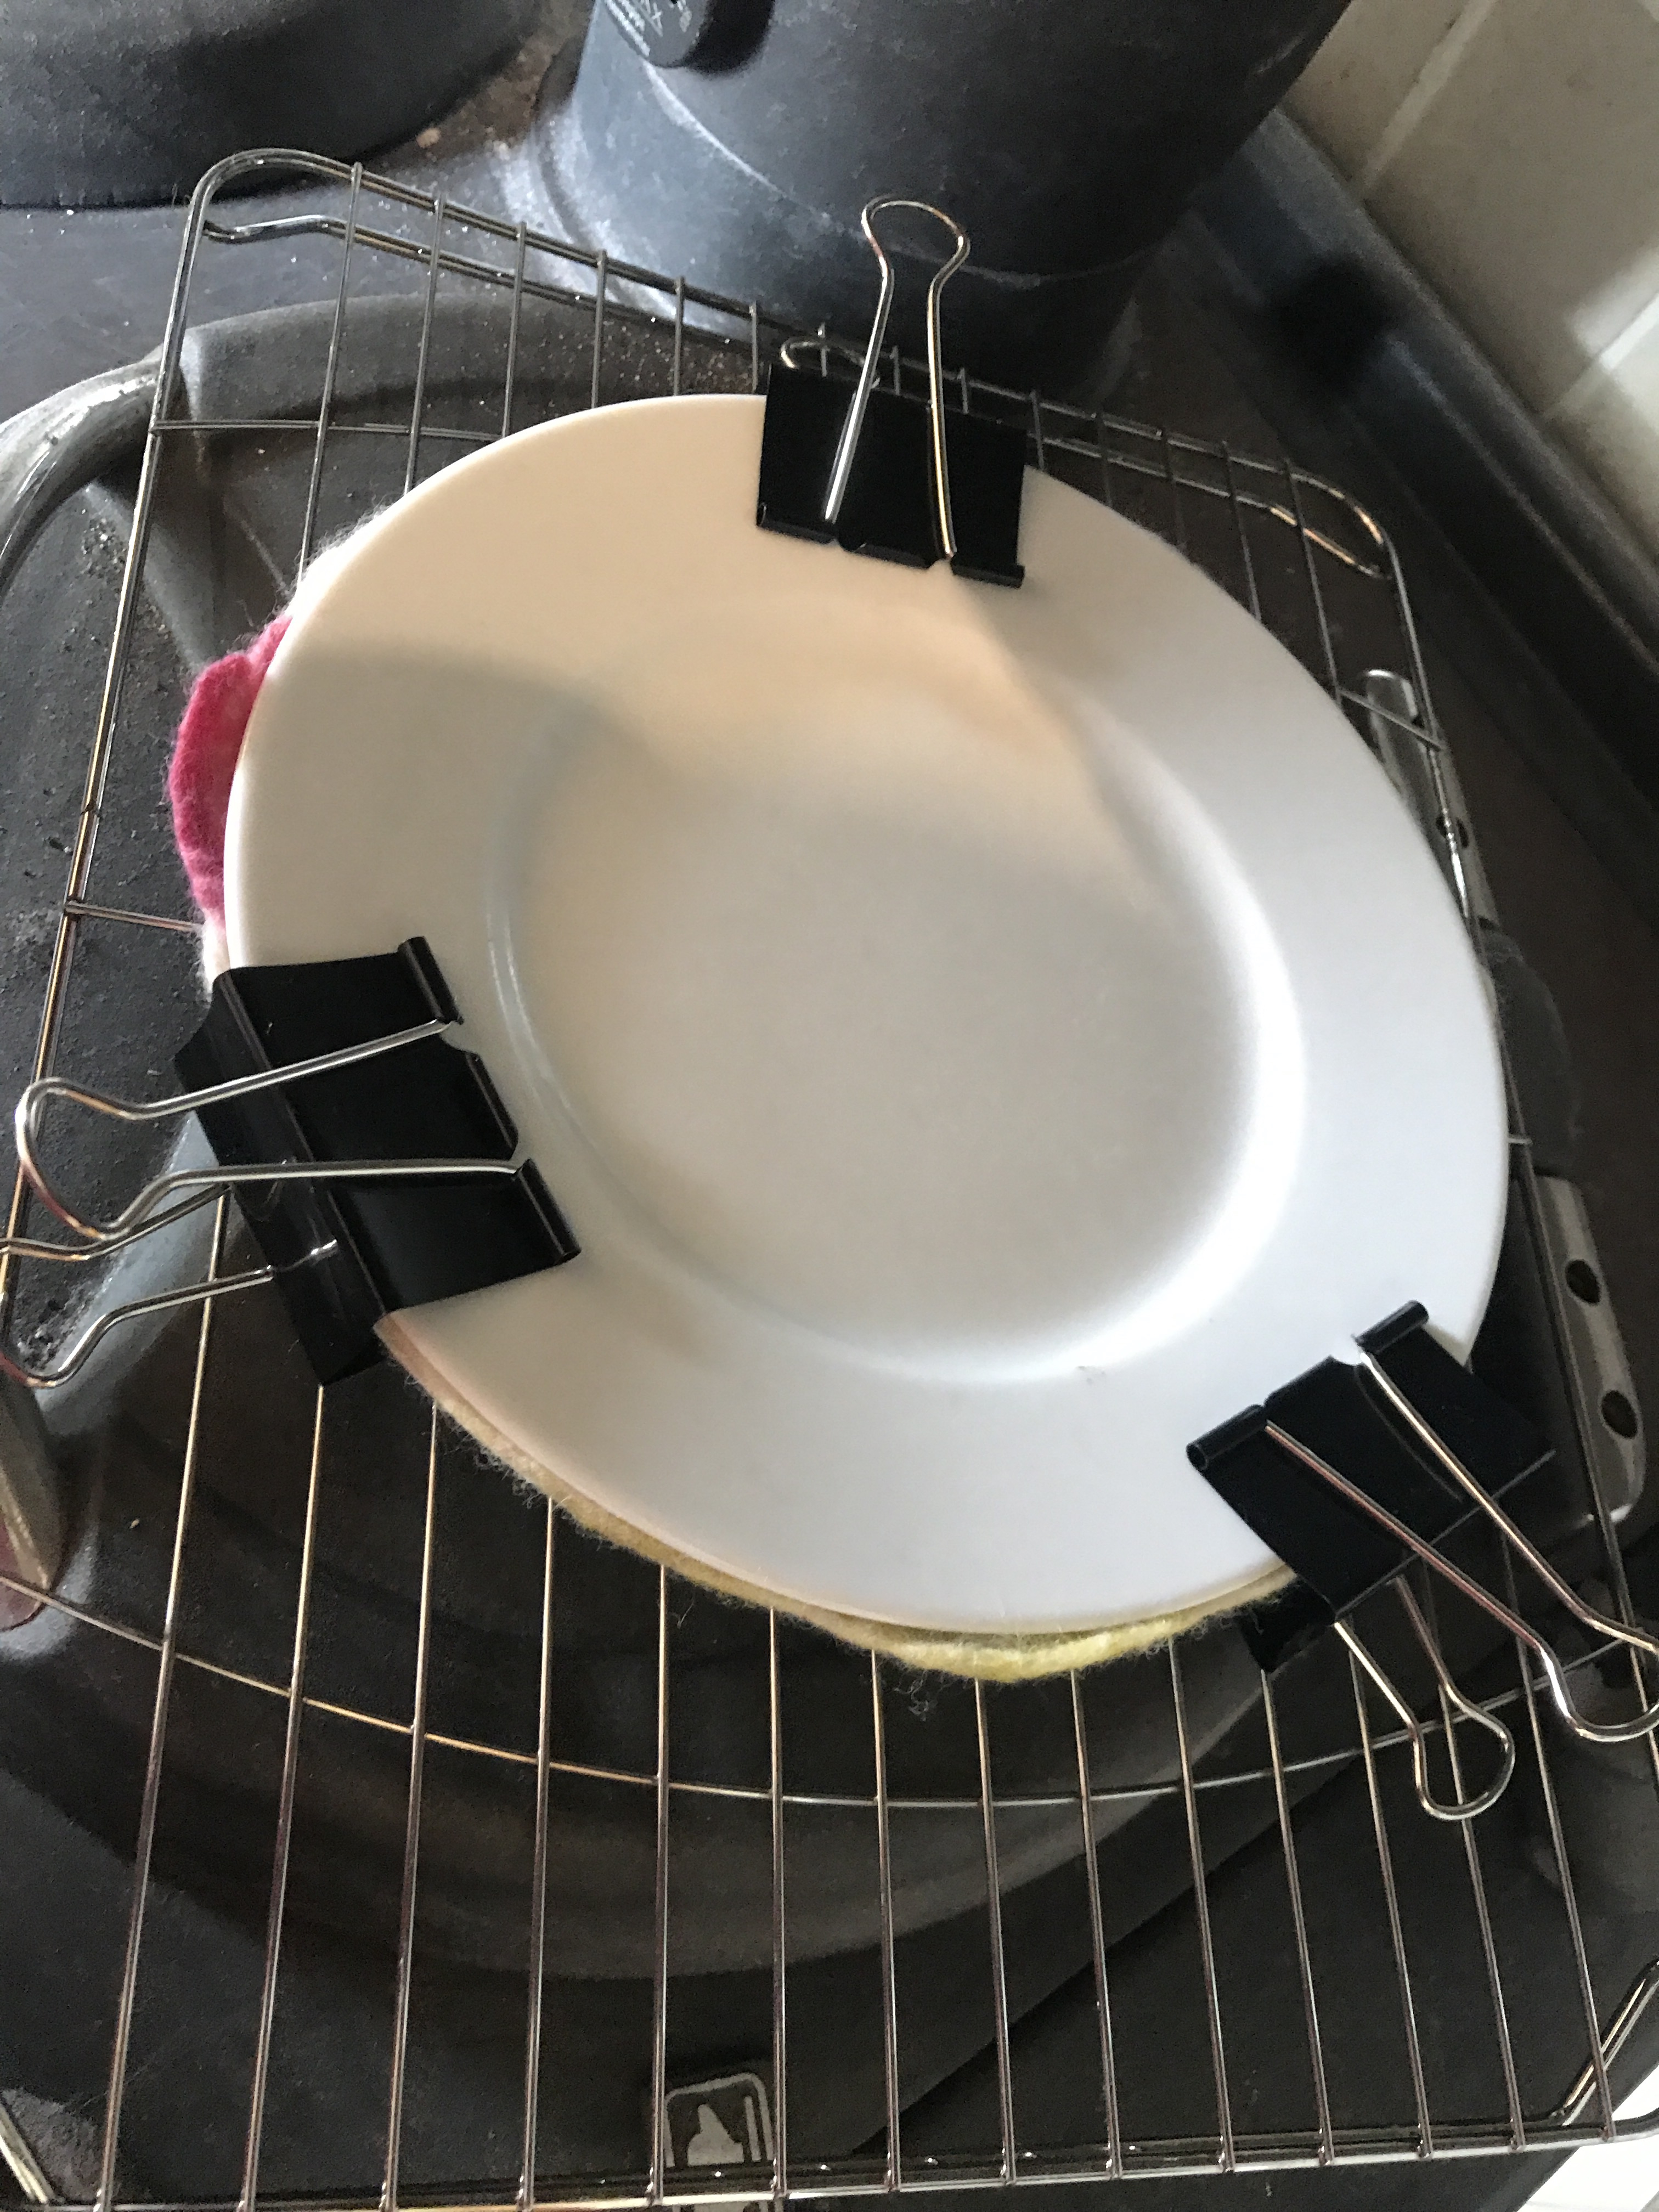

if you shaped this plate whilst drying between 2 small bowls it really would make a nice bonbon dish

Leave a comment